-
Difficulty:Intermediate
-
Team:1
-
Time:1 Hour
Tools
-
Drill Bit
-
Drill
-
Pencil
-
Safety Goggles
-
Screw Drivers


Featured
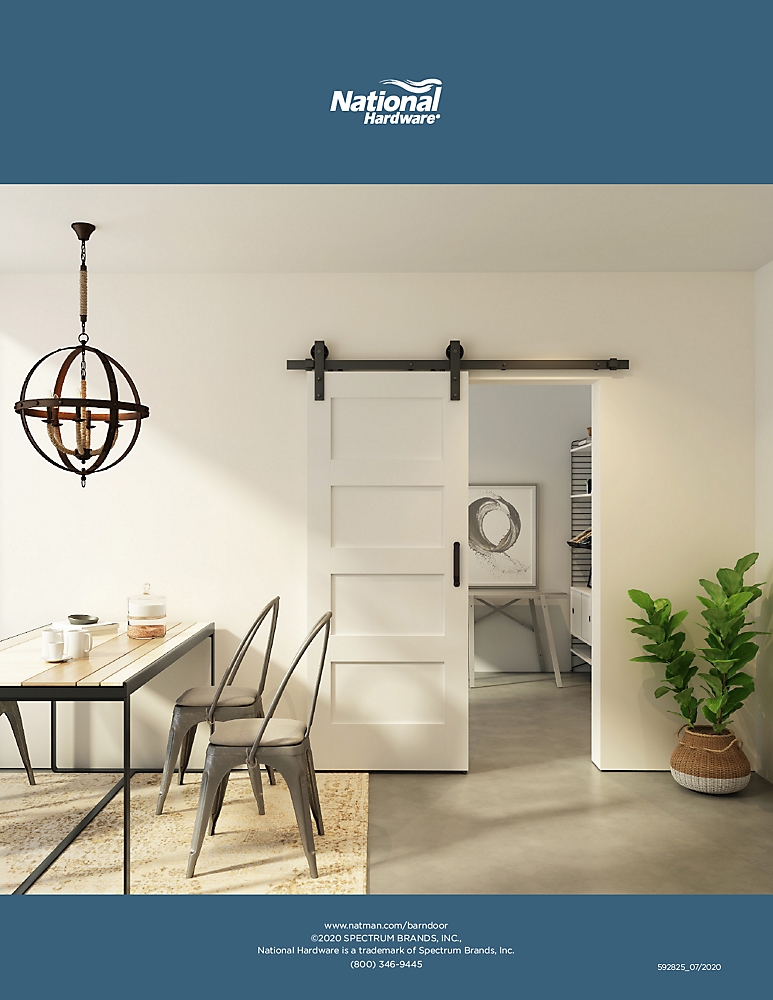
Get Back Your Privacy
The lock is simple to install and requires little experience in installing. With easy to follow installation instructions and step by step videos, in just under 30 minutes this barn door lock will help restore some much-needed order to your space.
How to Install a Barn Door Lock
Secure the Barn Door Latch
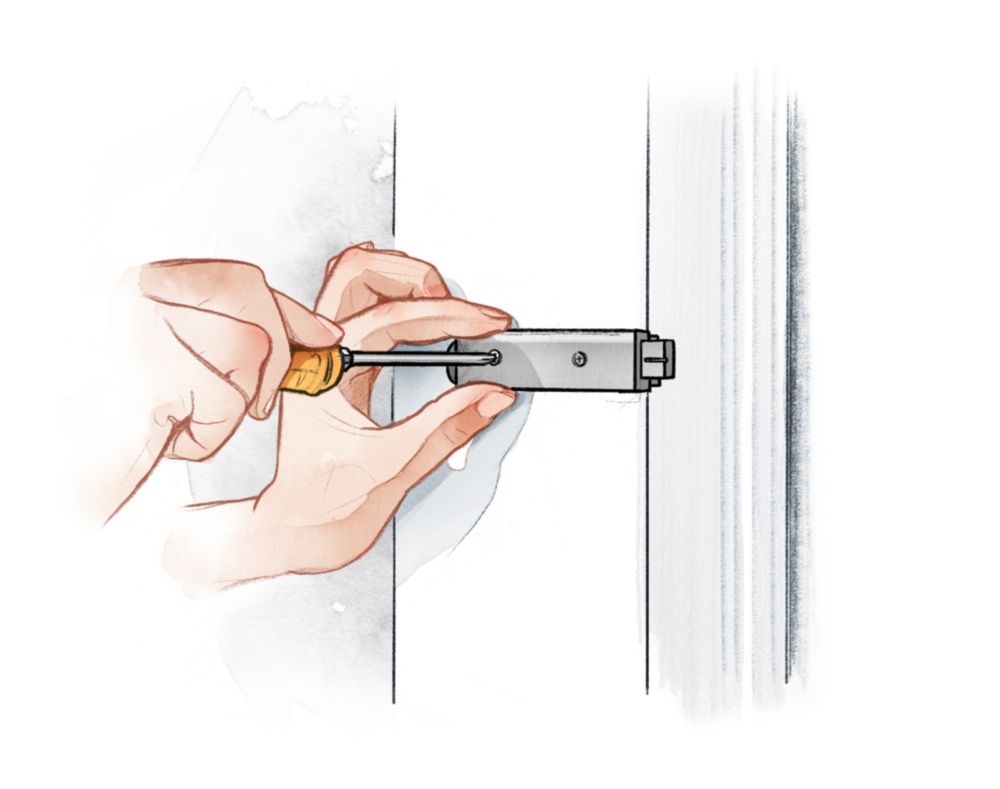
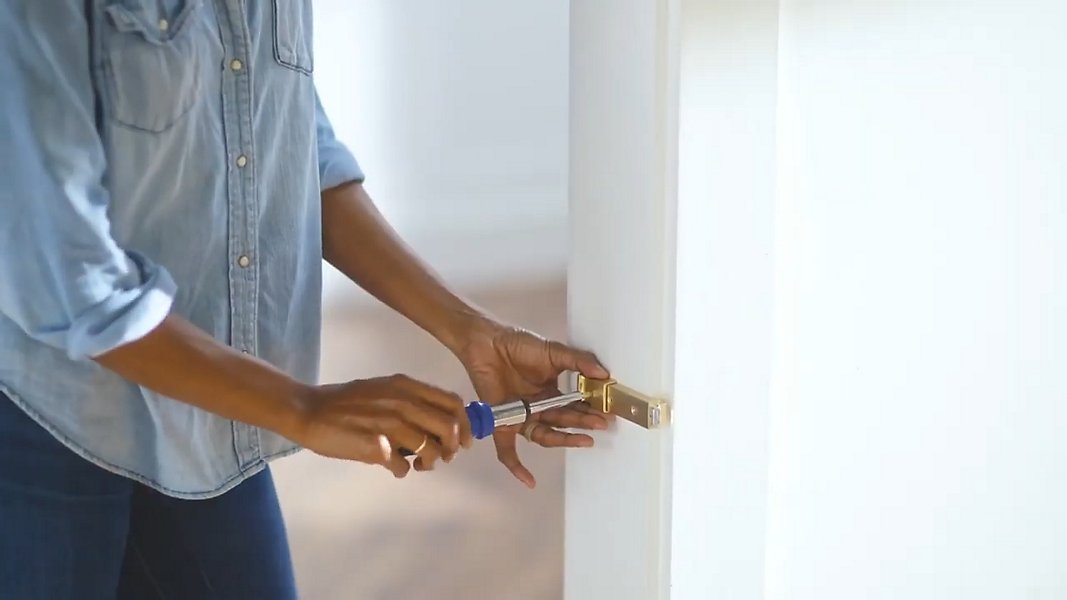
First, make sure that your sliding door is properly hung, and check to see that there's at least a one-inch overlap with the wooden door and the frame. Now for installing the lock. First, you'll position the latch on the doorframe edge that is closest to the door and make sure that the latch is level.
Then mark and drill pilot holes for the latch.
Ensure the latch lip is flush to the wall and frame. Now secure the latch to the doorframe with the included wood screws. Use a screwdriver to hand-tighten these.
Prepare the Barn Door for the Latch Bolt
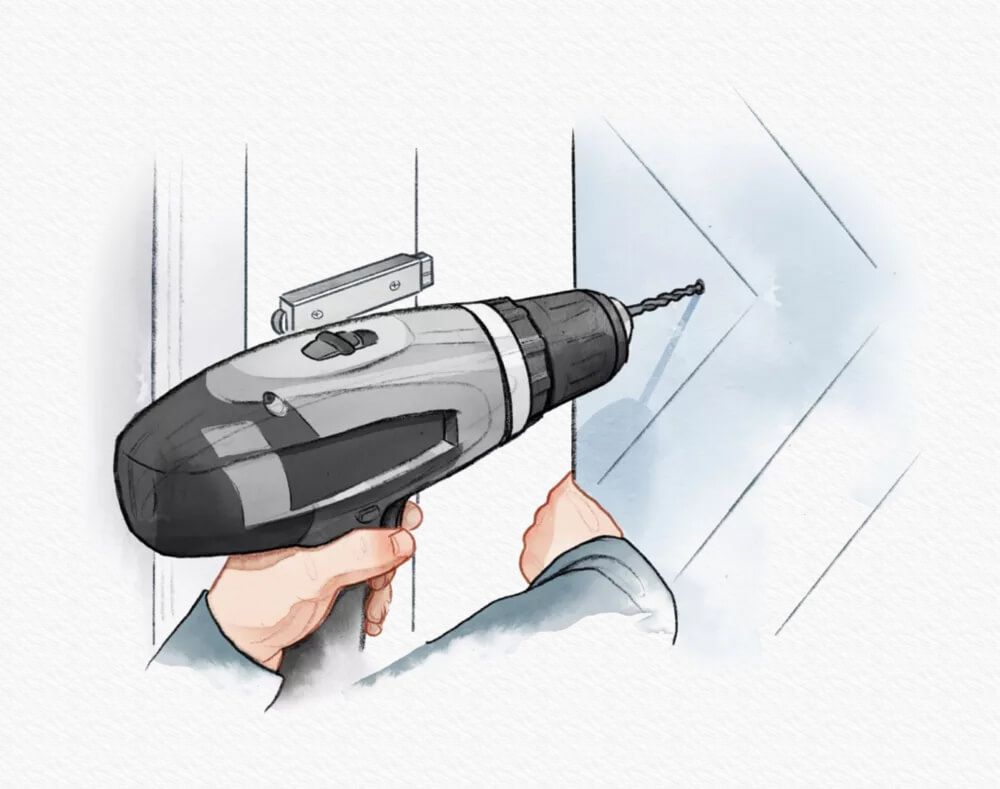
Now it's time to prep the door.
Start with extending the latch bolt by pressing it in and releasing it.
Then close the door and mark the strike center position on the door. Ensure there is a minimum of one inch from the strike center to the edge of the door.
You'll use this mark as a guide to drill a pilot hole.
Now drill halfway through the door. You'll complete the hole from the other side to ensure the wood doesn't split.
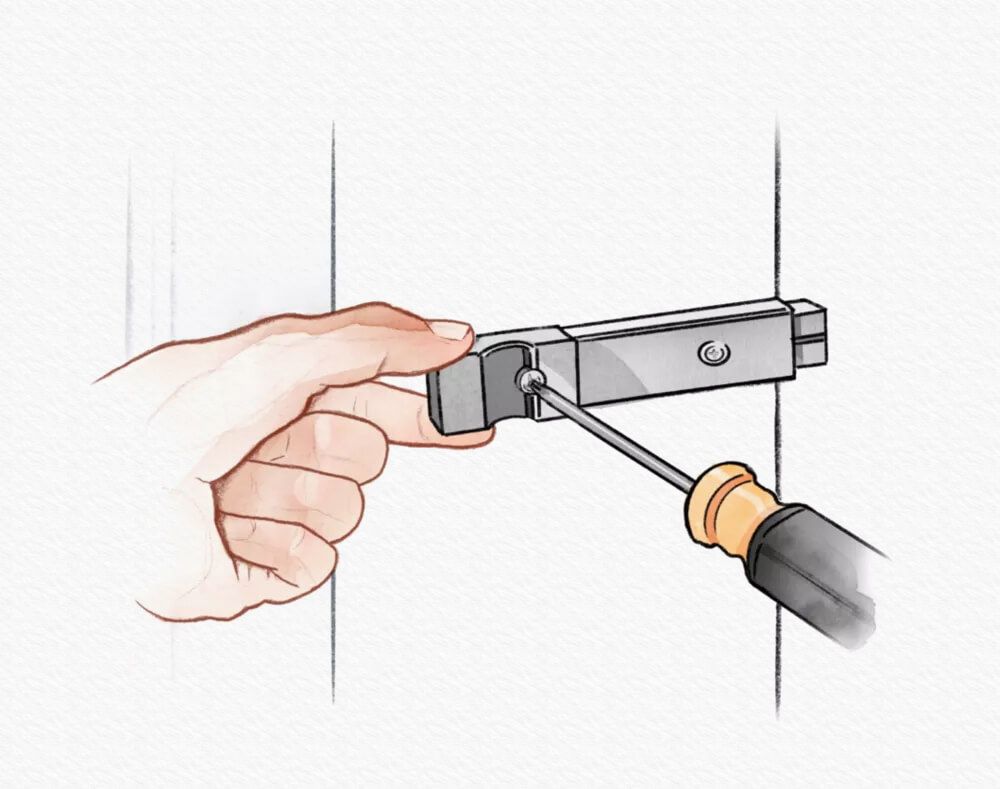
Install the Lock Strike
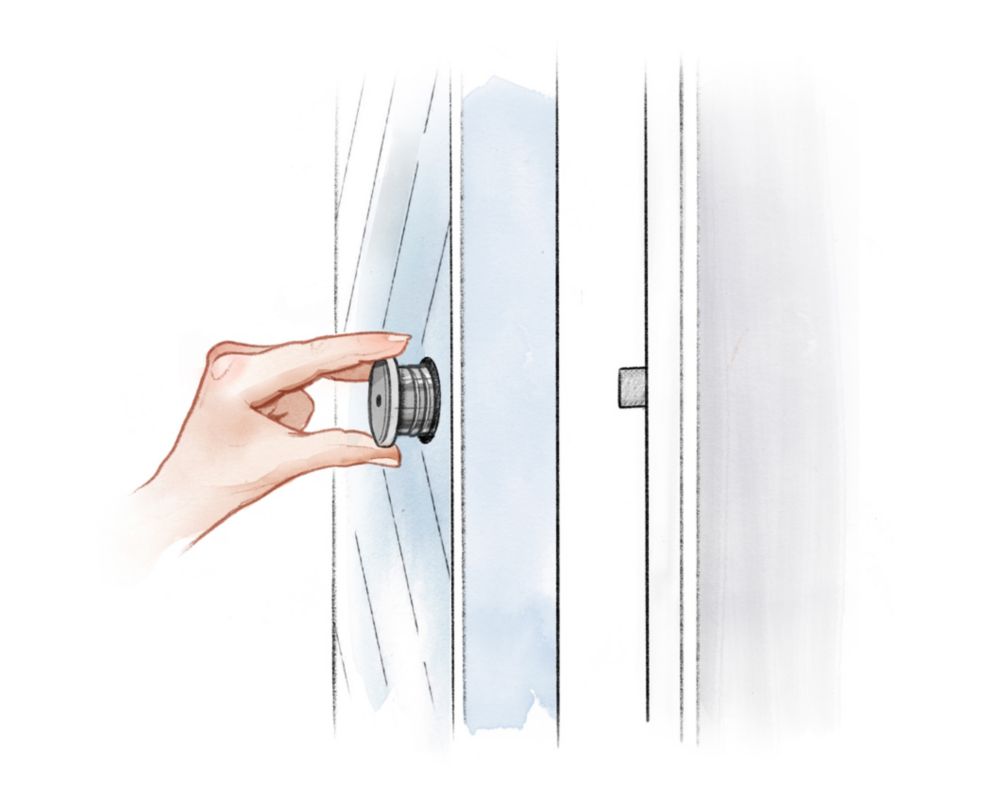
At this point, you'll install the strike through the door with the flange pointing away from the latch like this.
Next, retract the latch bolt by pressing it in. Then slowly close the door and make sure the strike does not collide with the retracted latch bolt.
If it does, you'll need to hold the strike flange while twisting the strike cylinder clockwise to shorten it until it no longer collides.
At this point, you'll install the strike through the door with the flange pointing away from the latch like this.
Next, retract the latch bolt by pressing it in. Then slowly close the door and make sure the strike does not collide with the retracted latch bolt.
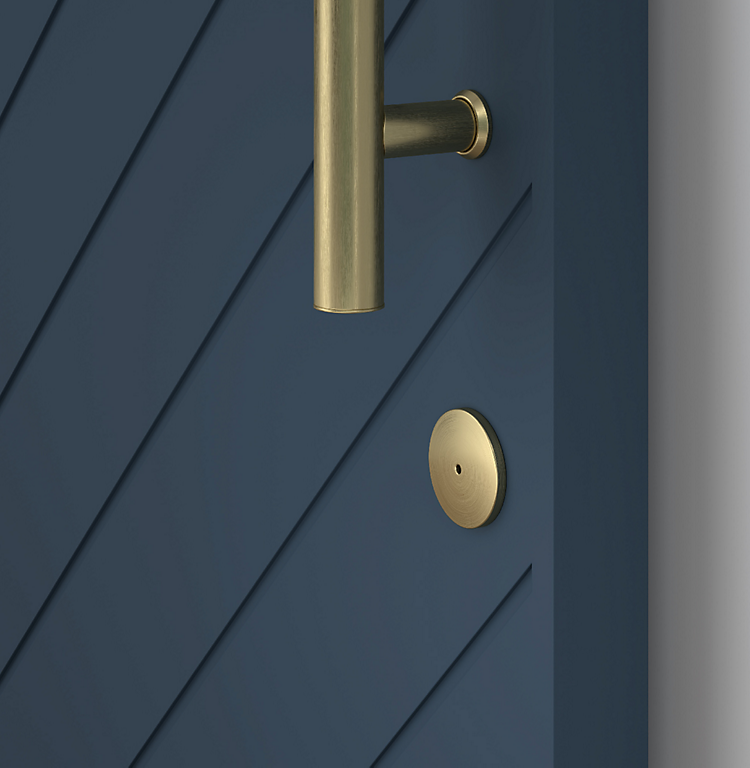
Install the Strike Trim to your Lock

Now let's finish off the strike by installing the trim and the ring. Tighten the cylinder by hand to complete installation.
Test the Emergency Release
One of the best features of this lock is the emergency release button, which gives you access to the door from the outside if it's accidentally locked by a child.
Test it out to make sure the actuator extends far enough to extend and retract the latch bolt.
If it's not quite hitting, you'll need to adjust the strike flange.
Next, you'll press and hold the emergency release to extend the actuator, then lengthen it by twisting counterclockwise. Then move the clip onto a groove further back on the actuator shaft.
Finish up by twisting the actuator face clockwise until it's fully tightened.
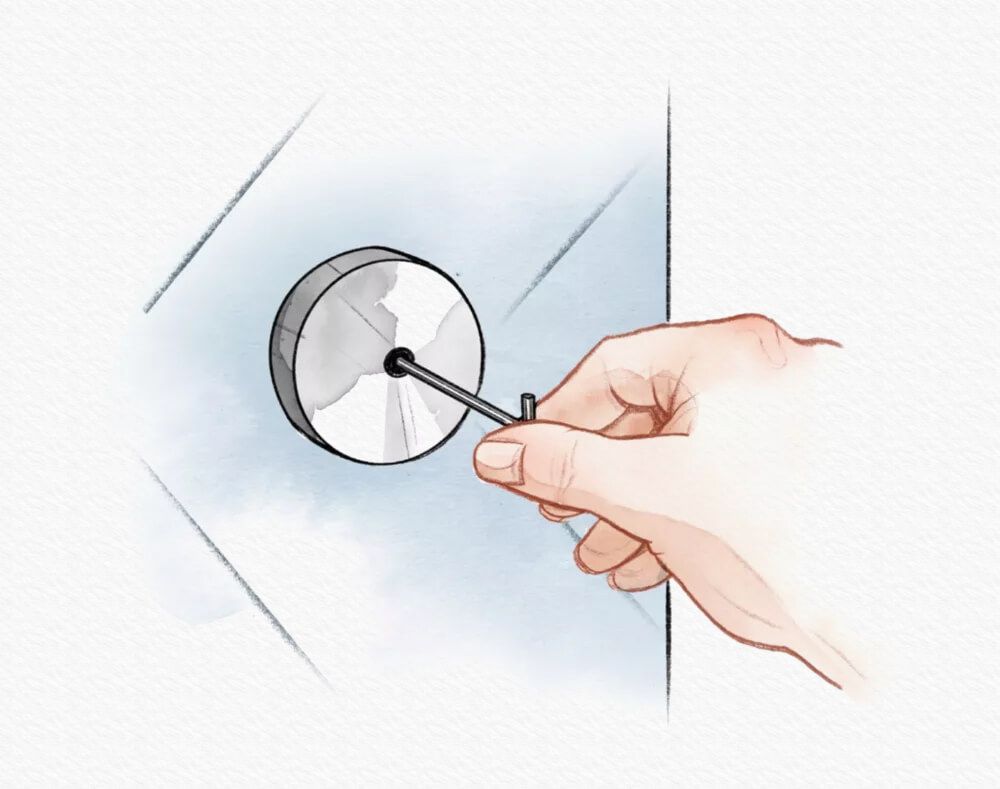
To engage the emergency release, insert a hex wrench.
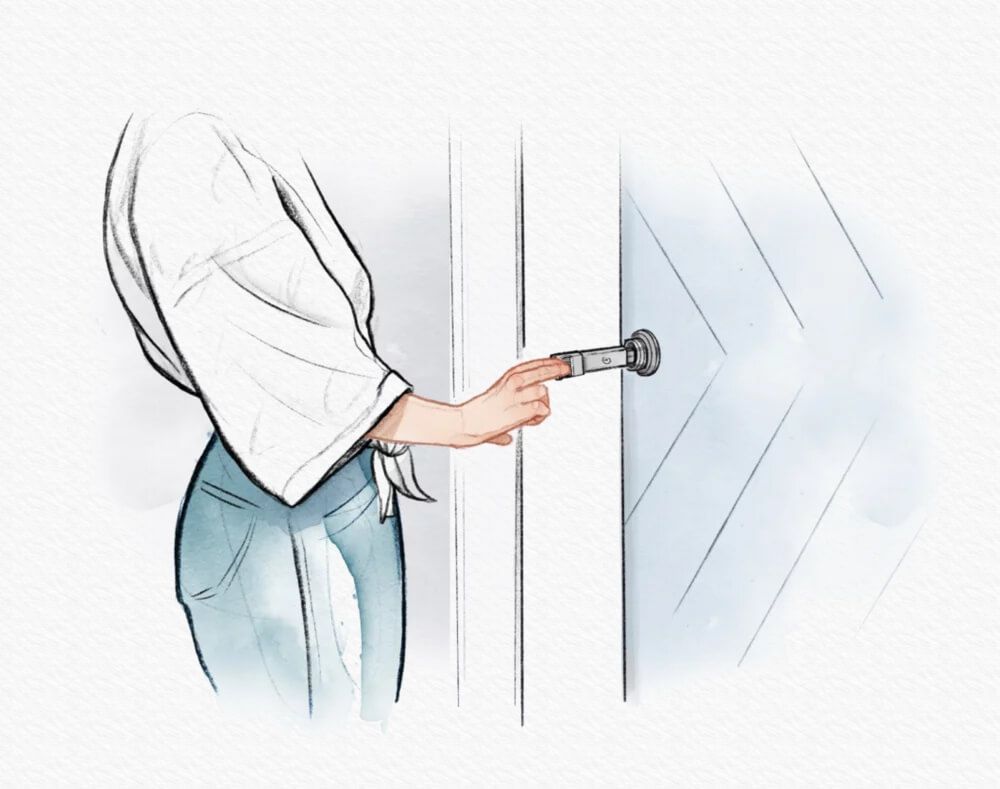
Install the Latch Handle
Now let's install the latch handle and secure it with the screw.
This provides an easy-to-use handle so you can lock and unlock the door from the inside.
Enjoy Some Peace and Privacy
The National Hardware Barn Door Lock is easy to install and even easier to use.
It's the perfect way to maintain the design features you love about your barn door, while adding privacy and the chance to relax.
Frequently Asked Questions
-
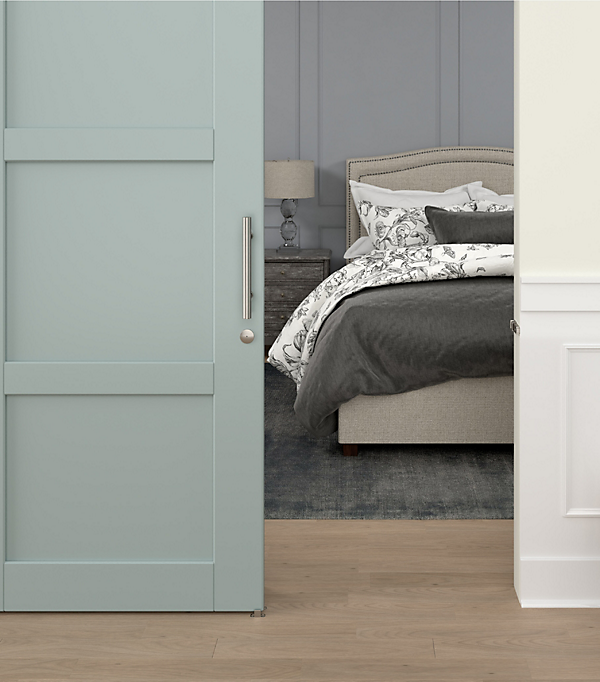
Where do you install a Barn Door Lock?
The lock can be installed on either side of the door. Depending on where your door sits (interior or exterior of the room) will determine placement. The latch needs to face the door so that it may catch onto the strike.
-
What do I do if I do not have a 1" overlap on my barn door to install the lock?
You can adjust your barn door by moving the door stop using a hex wrench on your National Hardware rail to one inch past the frame.
-
Can you install this on lock on bi-folding or pocket doors?
Yes, this lock can be installed on wooden sliding, bi-folding and pocket doors.
Hardware
- Tags:
- How To Projects
- Bedrooms
- Related Product Categories:
- Barn Door Locks & Latches
- Barn Door Hardware